

Introduction
Having high quality smoke and carbon monoxide (CO) detectors installed in your home is a crucial safety item. We strongly urge you to complete this task immediately if you do not have one or both of these life saving devices installed properly in your home.
Step by step
According to the National Fire Protection Association (NFPA) there are an average of 366,000 home fires each year causing over 2,500 fatalities and 13,000 injuries1. In addition, the Center for Disease Control & Prevent (CDC) states that there are an average of 430 additional non-fire related Carbon Monoxide (CO) deaths each year.2 While we hope and pray this is something that never happens to us, good quality smoke and CO sensors installed properly throughout the home are the best defense against turning a small fire or CO leak into an awful disaster.
NFPA 72 code states that smoke detectors should be located in each bedroom and outside each bedroom, or group of bedrooms, by floor (usually a hallway). Smoke detectors should also be located in the main living areas of larger homes. If installing in the kitchen, install at least 10’ from the main appliances to avoid false alarms. In areas with vaulted ceilings, install within 3’ of the roof peak. It is also wise to interconnect smoke alarms, so if one goes off, they all do3.
It is wise to choose smoke detectors that also offer Carbon Monoxide sensing. This reduces maintenance and ensures complete protection throughout the home. We recommend the Nest Protect combined smoke and CO detector. This advanced sensor offers wireless connectivity, voice notifications, and proactive battery alerts. Although slightly more expensive ($99) than simpler alternatives, we feel the benefits are worth the added cost. If you’re on a tighter budget, consider the Kidde battery powered model for ~$30.
Below is a video from Lowes showing a few basics about locating, installing, and maintaining smoke and CO sensors.
- Count how many sensors you need
Make sure you have both a smoke and CO sensor (or combined unit) in each bedroom, outside all bedrooms, and in living areas of larger homes. For example, in a 2,500 square foot 4 bedroom home with 3 bedrooms upstairs and one down, you’ll need one for each bedroom (4), one outside of each set of bedrooms (2), and perhaps one in the living/dining/kitchen area (1) for a total of 7 units.
If the units are old and lack CO sensing capability, consider upgrading them to the Nest Protect. Note if the existing smoke alarms are powered by battery or wired into the system. All units should have a battery backup, but not all will be hard-wired into the home. You can tell by removing the unit and seeing if it has power going to it.
If you are adding sensors where there previously weren’t any, it will likely be easiest to install a battery model. - Purchase the needed sensors
See our required materials section for links to purchase. - Install
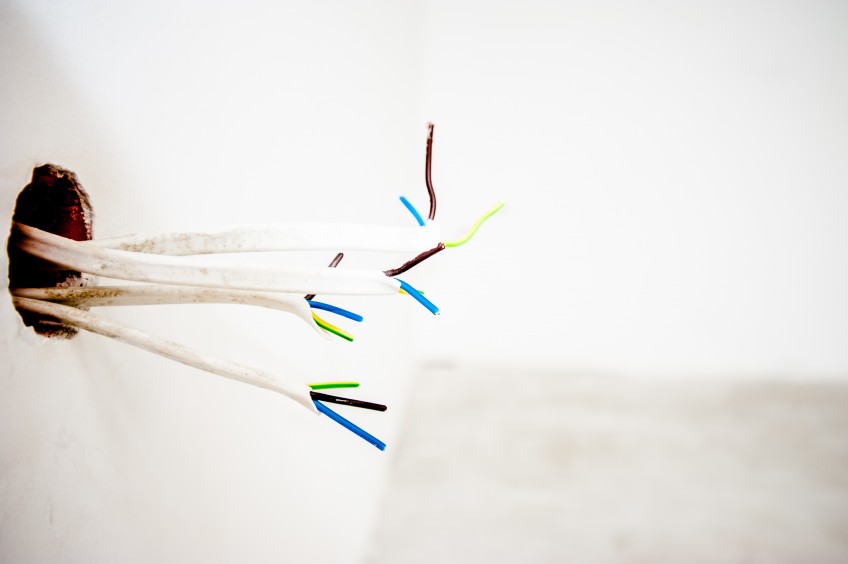
Turn off the power to any wired sensors at the breaker. Test the circuit with a voltage tester before unwiring the old sensors. Using an appropriately sized stepladder, remove old sensors. Install the new models in their place according the manufacturers directions. - Test
Most sensors will have a test button to ensure the unit is working properly. The Nest Protect goes a step further with their unique night light feature, which flashes a green ring when the lights go off to show the system is a go and the batteries are strong. - Mark Complete!
Sleep well knowing you and your family are protected.