

Introduction
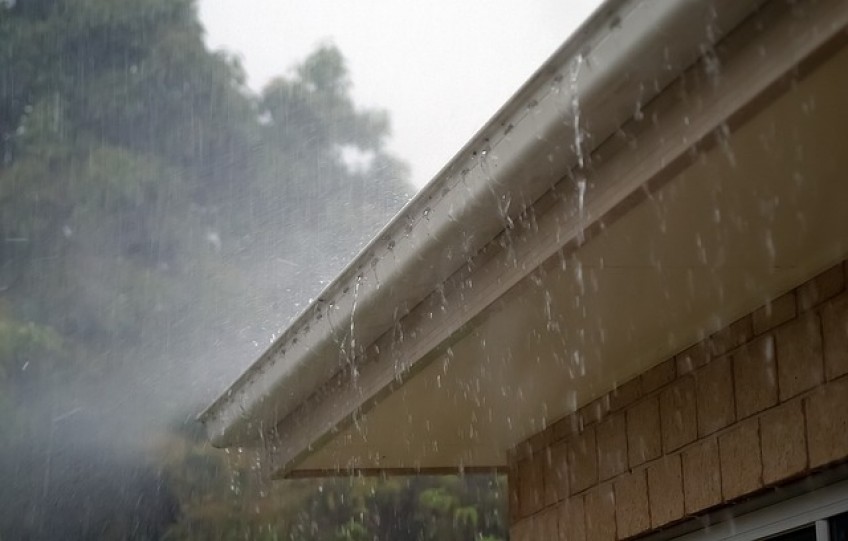
Your house protects you from all sorts of stuff like rain, dust, pollen, mildew, and insects. These all take a toll on the exterior of your house so an annual power washing will go a long way toward keeping your home looking pristine!
Step by step
Pressure washing is fairly straightforward, but we’ll give you a few tips here. Completing this task yourself will take a couple hours but will save you a couple hundred dollars vs. hiring out the task. 1-2 cleanings will pay for your investment in a power washer, and you’ll find many other useful tasks for this piece of equipment.
First, we recommend completing this the same month you complete your Spring “Wash Windows” task. More importantly, complete before the window cleaning, not after! Otherwise you’ll quickly undo all the work from your window cleaning.
If possible, pick a relatively cool overcast day for this task. This will keep the side of your house from drying too fast as you work.
Below is a video from Lowes that covers this process.
- Get Equipment & Detergent Ready
When considering Power Washers, we recommend a gas power washer as it will provide a higher flow rate (gpm = gallons per minute) which will let you finish the job faster. Think about it, a 2.3gpm washer is pushing twice the volume of water as a 1.1gpm unit, so it will essentially work twice as fast.
In our tools section we have a highly rated pressure washer that works for this and other tasks.
You should never use a pressure washer from a ladder. Remember what Newton said about every action having an equal and opposite reaction? All that water pushing out of your nozzle at high velocity pushes a lot of energy back at you and that can easily throw you off balance if you’re on a ladder. If you have a two-story home, use an extension wand like we have in our Tools section.
You need detergent for your pressure washer. Technically you could do it with just water, but a detergent is going to help cut through grime and leave your home much cleaner and brighter. Use an environmentally friendly detergent suited for exterior use like we have listed in our Materials section.
Get a standard 25-40 degree spray nozzle, a detergent nozzle, and extension nozzle (if needed) ready as well. Of course, you’ll also need a garden hose to connect to the washer. - Prep the Area
Electricity
Check for power lines that you might hit with water or your extension wand. You want to avoid these. Check to make sure all exterior outlets are covered and turn off the power to the circuit. Make sure your breaker box is sealed up if it is located outside as well.
Vents
Note any openings in the home such as dryer vents or soffit vents (under the eaves). You can either cover these or carefully avoid them, but you don’t want to push water back through them. Your home is not designed to withstand the pressure and volume of water created from pressure washing so don’t think you can just wash over them with no consequences.
Shrubs
Trim shrubs that are in contact with the house, then wet them down so soap doesn’t stick to them as you wash.
Environmental Hazards
If your home was built before 1978, you may have asbestos or lead paint present. These are dangerous when disturbed, so if you have old paint on the exterior of your home or old siding material that may contain asbestos, get it tested before proceeding. You can read more about Asbestos safety on our article here.
Check for Damage
A pressure washer can do a lot of damage if it hits an area that is damaged. Check for siding, mortar, stucco, etc. that is broken, chipped, or rotted. Either get this area fixed before you proceed or steer well clear of it for now on the remaining steps. - Wash bottom to top
Wait, shouldn’t you work top to bottom?! Yes, that’s Step 4. However, when you are doing the real washing with the detergent you should work from bottom to top. This will keep streaks of dirty water from running down the dry siding and potentially leaving stains. It also makes it easier to see the dirty area you are about to clean so you can target the nozzle accordingly.
Use your detergent nozzle and mix in the detergent per the manufacturer’s directions. Wash from bottom to top, working from side to side in a methodical manner, as to not miss any spots. Include the windows trims in this step but don’t hit the glass directly with full pressure.
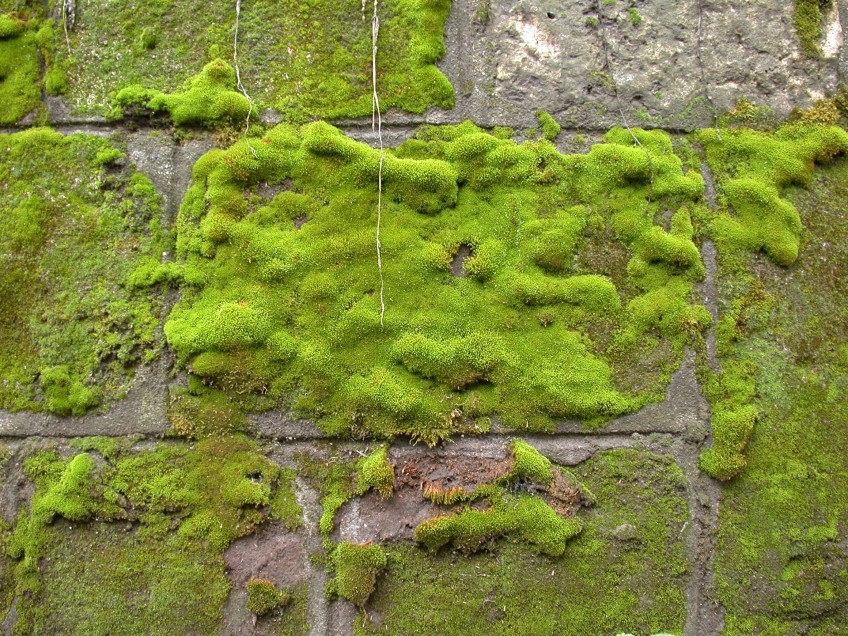
Leave the detergent on the side of the house for a few minutes (5-10) to allow it to work on any grease, mildew, etc. You can continue to work around the house while waiting. - Rinse
Switching back to your spray nozzle, go back to the area that has been sitting for a few minutes and rinse from top to bottom. Work methodically to get all the areas and remove all soap. - Wrap Up
Almost done! Use the garden hose to rinse off the shrubs from any soap they may have gotten on them. Remove any temporary covers on vents or electrical outlets. Turn power back on. Clean up equipment and store properly. - Mark Complete
Mark this complete in your Propsee profile and we’ll remind you again in two years.